Resonance Puzzle Solutions: Symbols, Mirrors & Light Beams
Resonance puzzle solutions: the Chapter 2 church-roof mirror signals, Chapter 4 and 5 symbols, colored beams, floor paths, mirrors and the weight bug.
Community sources
GamePrimer EditorialUpdated Verified
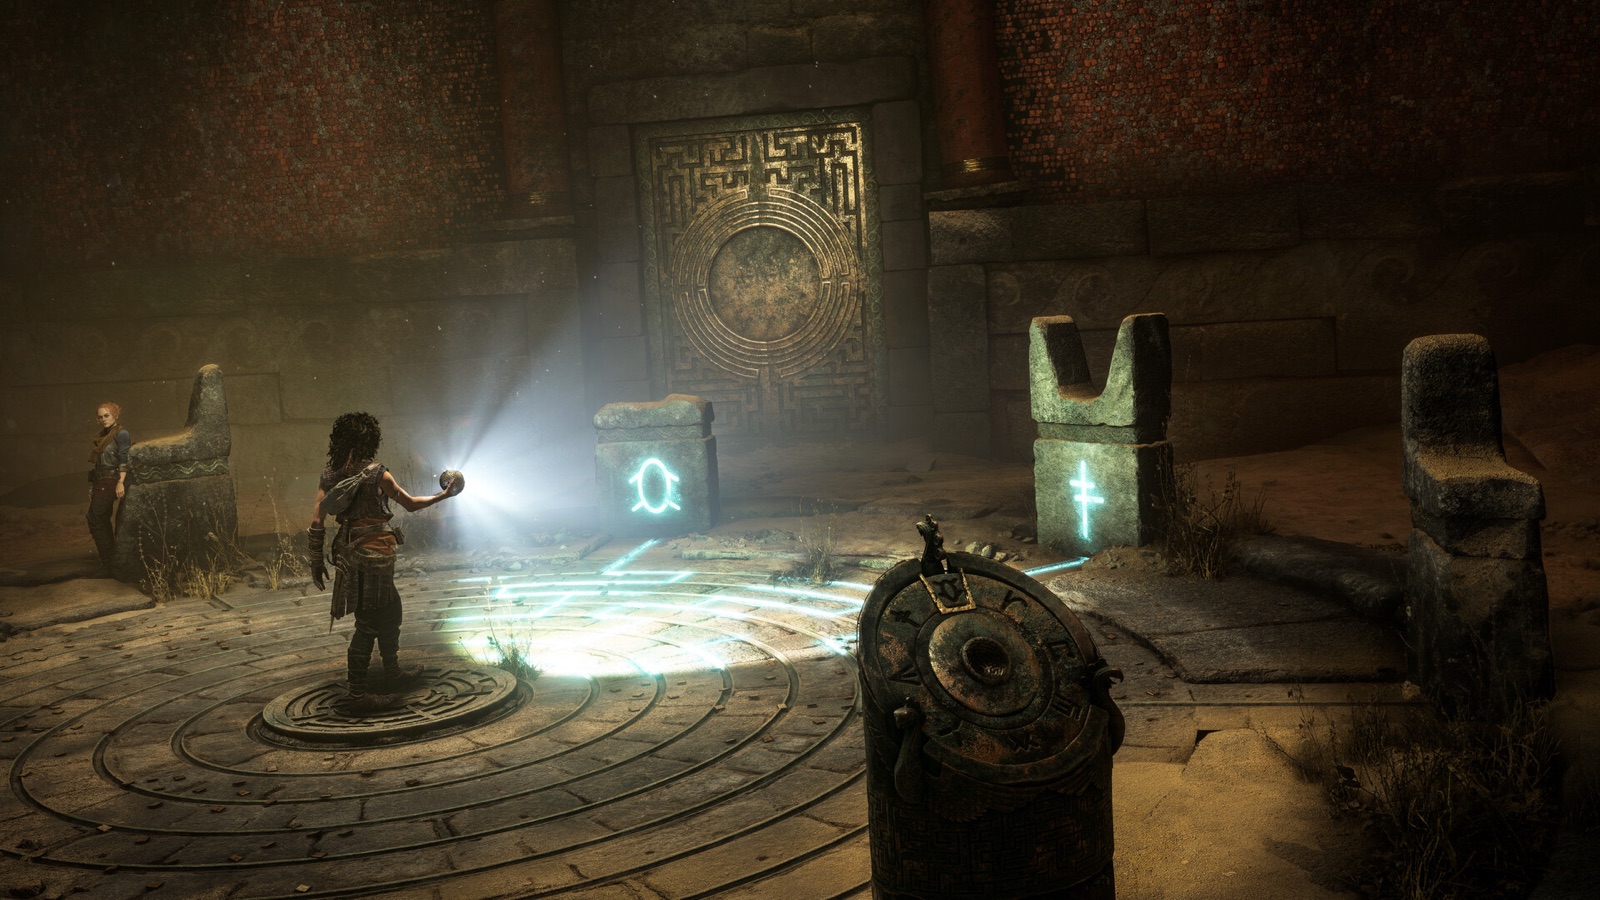
On the Chapter 2 church roof, hold the right shoulder button to raise the mirror and hit two lights: first the one between the two towers to your right, then the one on the pier back toward the waterfront you climbed from. The first major Chapter 4 pedestal code is Y-shaped mark → C-shaped mark → upward arrow. In Chapter 5, activate the central pedestal, stand on the right floor pad and rotate the sphere’s red/green/blue rays until each beam meets the matching door gem.
Puzzle spoilers follow. This page names rooms and solutions but does not reveal character fates or the ending. Verified against published launch-week solution material on August 29, 2026.
Chapter 2 — church roof mirror signals
The first thing that stops players is not a Minoan mechanism but the mirror on the church roof in Chapter 2’s carnival city. After the puppet show, go down the side of the church, squeeze through the fence, take your weapons back from the barrel beside Leni at the water, grapple up the wooden boards, then go right and grapple once more onto the roof.
- Hold the right shoulder button (RB / R1) to raise the mirror. It only signals while it is held on a light.
- First signal: turn right. A bright white light sits between two towers; hold the mirror on it until the light goes out.
- Second signal: turn right again, toward the waterfront you climbed from. The light is on the pier; hold until it goes out too.
Two lights out means the crew has moved; the explosion follows on its own. Grapple back down the way you came—there is no separate exit from the roof.
Chapter 4 — three pedestal symbols
Use the pedestals in this order:
- Y-shaped symbol
- C-shaped symbol
- Upward arrow
Wait for each pedestal to register before moving to the next. If the sequence resets, start again from the Y rather than continuing from the last symbol.
Chapter 5 — colored door beams
- Interact with the pedestal in the middle of the room.
- Move Sophia onto the right-hand floor pad.
- Aim the sphere so the three rays reach the door.
- Rotate the red, green and blue rays until each one lands on the gem of the same color.
- Hold the arrangement for the door to register it.
If the geometry looks right but nothing happens, step off the pad, return and align again. The pad is part of the activation state, not just a place to stand for a better view.
Chapter 5 — safe floor-symbol route
The displayed pattern is Dots → Kraken → Dots → Flower → Kraken. Read the symbols on each row, not the absolute left/right position, because the safe column changes as you cross.
For the route that also reaches the hidden relic, the first sequence is:
Dots (column 2) → Kraken (3) → Dots (3) → Flower (2) → Kraken (2) → Dots (2) → Kraken (1).
Climb the rocks on the left and shimmy across for the relic before continuing. The complete walkthrough is the better page if you also need the route into and out of this room.
Chapter 5 — optional bull pillar
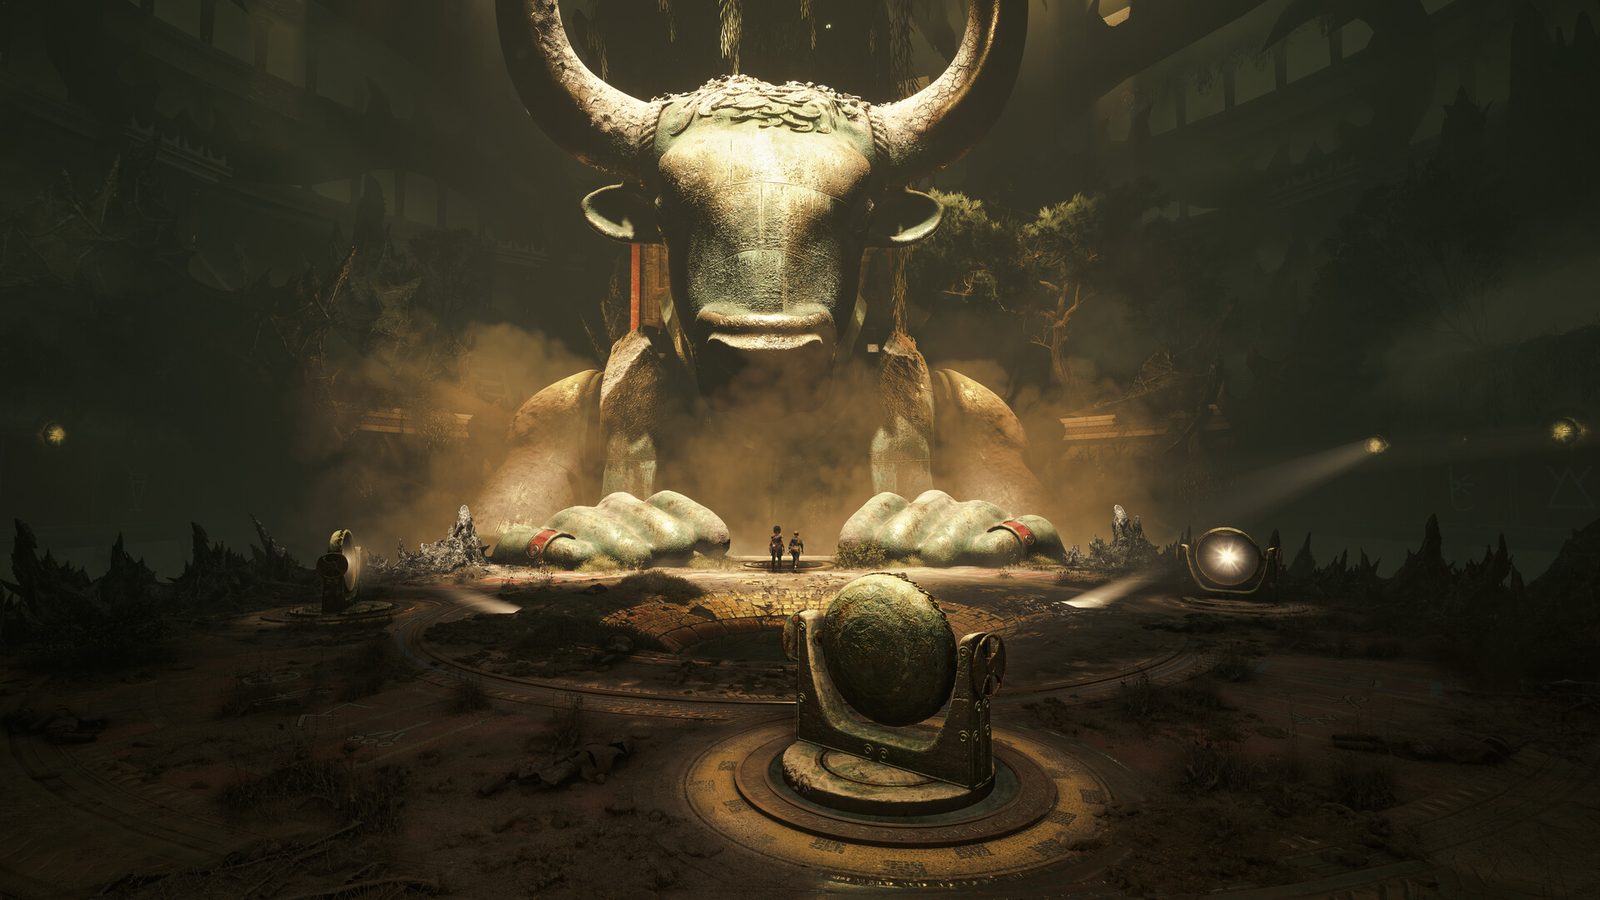
From the room with four sockets, take the front-right path marked by the circle-and-lines symbol. After the next fight, move away from the large bull door toward the abandoned camp. Climb the rocks, stand on the far plate along the left pillar and align the sphere’s three colored lights with the bull-pillar gems. The axe-shaped floor panel opens to a crypt and chest.
Chapter 10 — bull pillar and mirror chain
For the bull pillar, break the nearby vases to expose the hidden blue gem, activate the pedestal and set the rays red left, green middle, blue right.
For the larger mirror room, start the wheel in the waterfall cave, then relay the beam through:
- Mirror behind the waterfall cave
- Scaffold-side mirror
- Central platform mirror
- Faro’s elevated position
- The receiving point near the three-pedestal door
Stand in Faro’s light and use the sphere to reveal the blue mark. Then inspect the lit stelae for the six-symbol door information before moving the three colored gems.
Chapter 11 — beam room and missing weight bug
In the first beam room, use the right lever, release it for Faro, then pull the left lever to clear the dust with light.
After the elevator, a movable weight should appear at the end of the path. Push it to create cover, rotate the light forward with the lever, then return to the starting crank. If the weight is not present, restart the subchapter. Published guides record this as a reproducible spawn failure; there is no intended invisible alternate solution.
Puzzle FAQ
Where is the church roof mirror puzzle?
Chapter 2, after the carnival and the barrel where you reclaim your weapons. Two signals: the light between the towers to your right, then the light on the pier.
Does changing difficulty simplify puzzles?
Combat difficulty and accessibility assists do not replace the core symbol/light solutions. Use the visual accessibility options if beam colors are difficult to distinguish.
Why is a required object missing?
The known Chapter 11 weight can fail to spawn. Restart the subchapter before spending time searching outside the intended room.
Sources
- CommunityPowerPyx — all Resonance puzzle solutions
- OfficialOfficial game page — sphere and light-manipulation mechanics
- CommunityGameSpew walkthrough — Chapter 2 church roof and mirror signals
- CommunityAltChar — where to aim the two mirror signals
